

How To Change Date and Time in Windows 11 - Guide
Introduction
Keeping your PC's date and time accurate is essential for virtual meetings, syncing with global timelines, or simply staying on schedule. Windows 11 makes it easy to adjust these settings with its user-friendly interface. This guide will walk you through the simple steps to change the date and time on your Windows 11 device.
Access the Time & Date Settings ⚙️
Open Settings by:
Pressing
Win + Ion your keyboard.Typing "Settings" in the taskbar search box and pressing Enter.

Windows Settings > Time & Language > Date & Time
In the Settings window, navigate to Time & Language on the left sidebar.
Path: Windows Settings > Time & Language > Date & Time
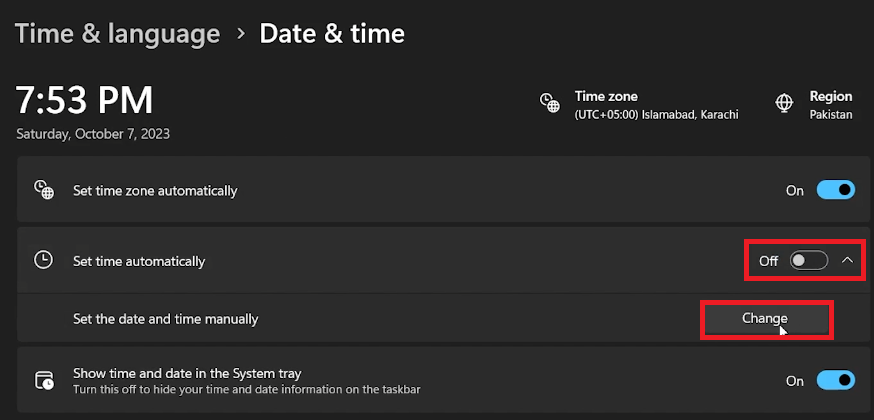
Windows Settings > Time & Language > Date & Time > Change
Manually Adjust the Date and Time 🕒
Once the automatic setting is disabled, click on Change under "Set the date and time manually."
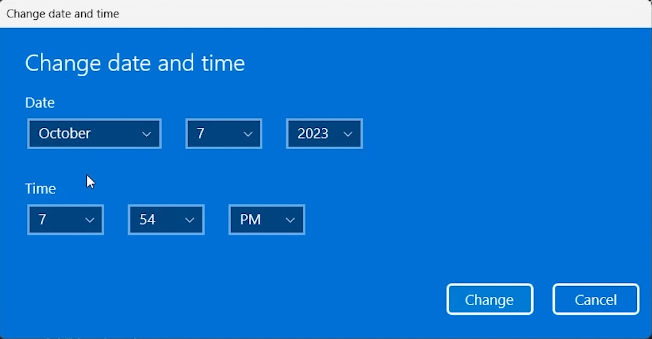
In the pop-up window titled "Change date and time," input the desired date and time.
Click Change to confirm.
Adjust Timezone Settings
To ensure accuracy, update your timezone settings based on your geographical location.
Change the date and time to your preference
-
You can access the Date and Time settings by opening the Windows Settings, navigating to the "Time and Language" tab, and then selecting the "Date and Time" option.
-
If the "Set Time Automatically" option is grayed out, it might be due to restricted permissions. Ensure you are logged in as an administrator or check your system policies.
-
To manually set the date and time, toggle off "Set Time Automatically" in the Date and Time settings, then click on "Change" under the "Set the date and time manually" option, adjust to your preferred date and time, and hit "Change" again to save.
-
Yes, changing your geographical location will adjust the time settings according to the local timezone of the selected region.
-
Yes, in the Date and Time settings, you can select a different timezone manually from the dropdown menu under the "Timezone" section.


