

How To Resize Image in Microsoft Paint
Resizing an image in Microsoft Paint can seem daunting, but with the right tool, it's a breeze! Microsoft Paint has been a staple of the Windows operating system for decades, and its versatility is only matched by its simplicity. In this article, we'll show you how to resize an image in Microsoft Paint, step-by-step, so that you can make your photos and graphics look precisely how you want them to. Whether you're looking to adjust the size of an image for a specific project, or want to downsize an image so it's easier to share online, Microsoft Paint has got you covered!
Import Image to Paint
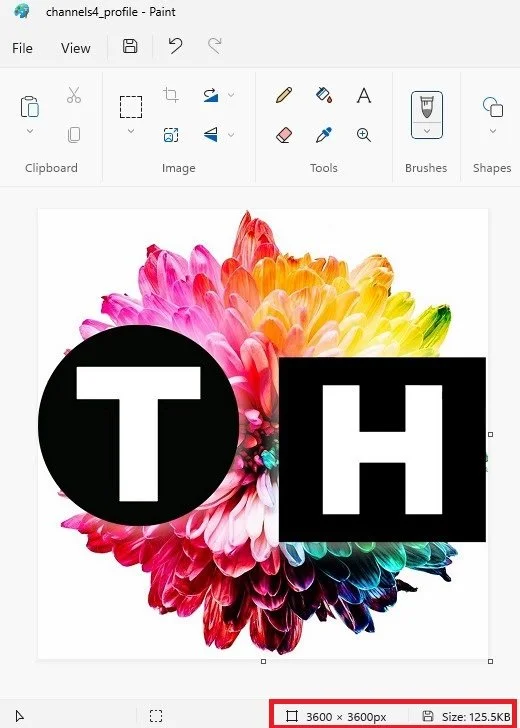
Open Paint and import the image you wish to resize. Drag and drop the image into the window or navigate to File > Open and select the image within your file explorer.
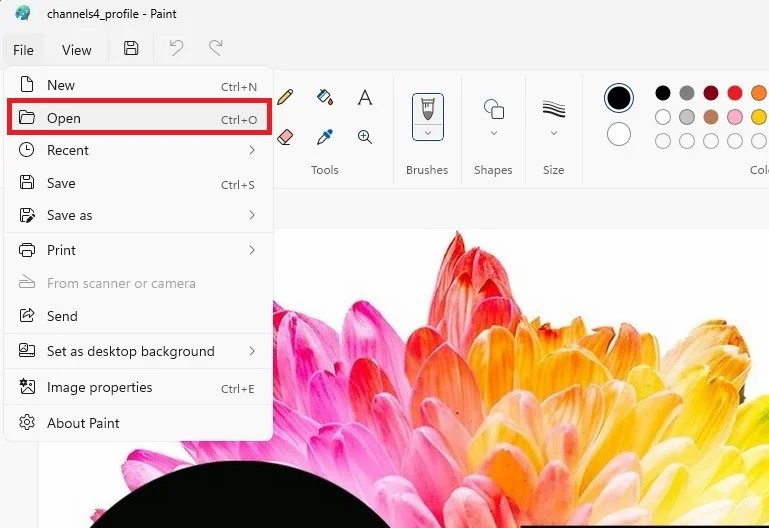
Paint > File > Open
Resize Image
When this is done, locate this image panel and click on the Resize and Skew button, which will open up this panel.
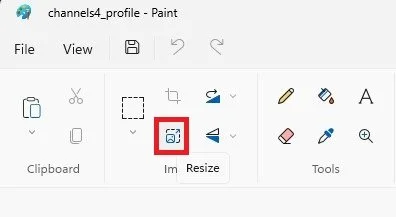
Resize and Skew
You have the option to resize your image using percentages or pixels. You can also ensure that the Maintain aspect ratio option is enabled or disabled. When enabled, it will make sure that any changes in your horizontal or vertical values will maintain the same image proportions.

Change size and skew of image
If you need a specific resolution in pixels, then make sure to check the Pixels option and disable the Maintain aspect ratio option. Proceed to enter your horizontal and vertical values before applying your changes.
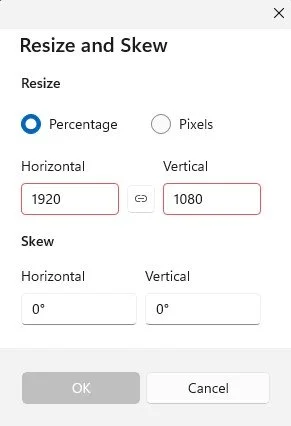
This might stretch the image as a result.
-
Microsoft Paint is a basic image editing software that comes pre-installed on all Windows computers. It's easy to use, fast, and best of all, it's free! With Microsoft Paint, you can resize images quickly and easily, making it the perfect tool for those who want to make quick changes to their photos and graphics.
-
You can access Microsoft Paint by searching for it in your Windows search bar, or by navigating to the "Windows Accessories" folder in your Start menu.
-
Yes, you can resize an image to any size you want using Microsoft Paint. Whether you need to make your image smaller or larger, Microsoft Paint gives you the flexibility to adjust the size of your image to your exact specifications.
-
Yes, you can maintain the aspect ratio of an image when resizing it in Microsoft Paint. This means that the proportion of the image's height and width will remain the same, even as you adjust its size.
-
No, unfortunately, you cannot resize multiple images at once using Microsoft Paint. However, you can resize each image individually, which can save time if you have a lot of images that need to be resized.
-
The quality of an image may decrease slightly when you resize it in Microsoft Paint, as the software is not as advanced as other image editing software. However, this decrease in quality is usually minimal, and your image will still look good even after being resized. If you need to maintain the highest quality possible, consider using a different image editing software.


