osu! - Custom Cursor Guide
If you're an avid osu! player, you know how important it is to have a customizable interface. Changing your cursor is one of the easiest and most popular ways to personalize your gameplay experience. However, with so many options available, it can be overwhelming to know where to start. That's why we've put together this comprehensive osu! custom cursor guide to help you navigate the different types of cursors available and how to install them. From animated cursors to custom shapes and sizes, we've got you covered.
Access Your osu! Game Files
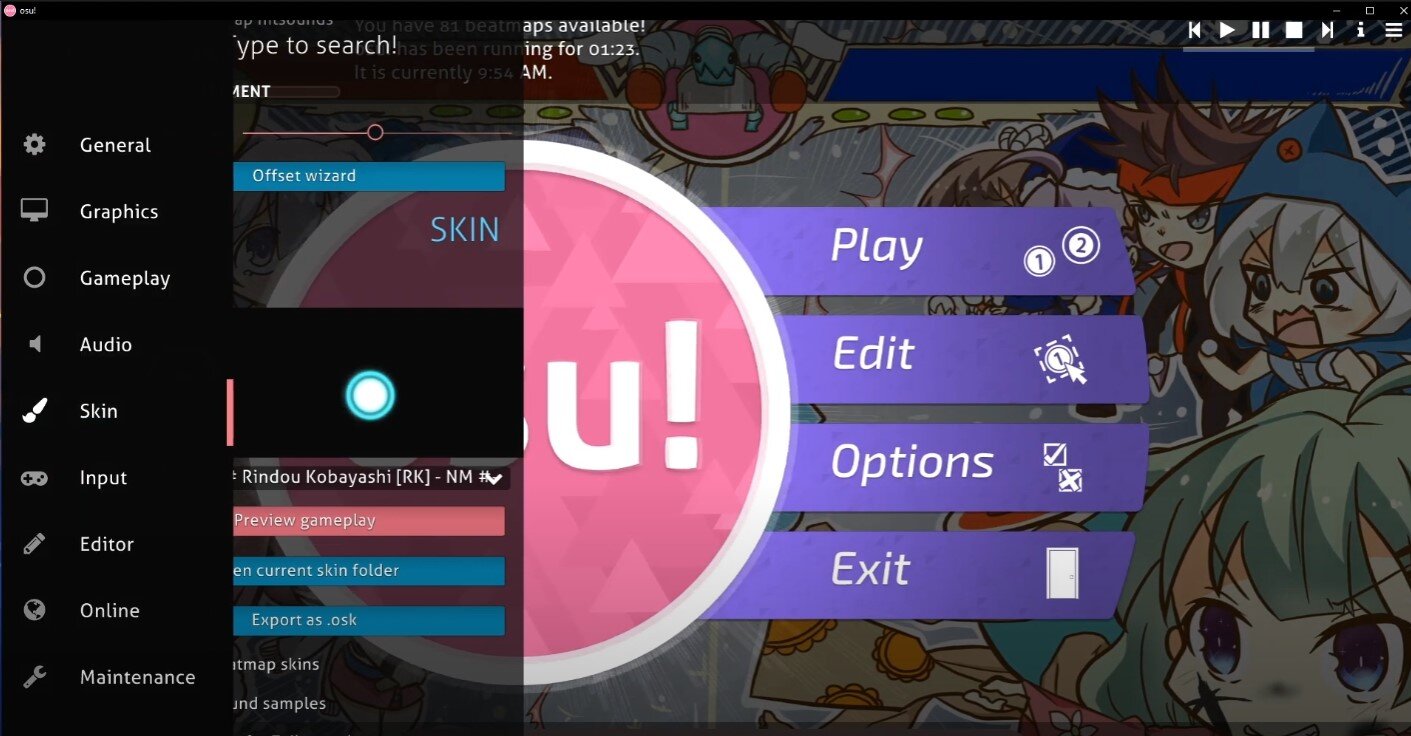
Open up osu! and navigate to your settings. In the Skin section, make sure to select the skin in which you want to change your cursor.
osu! Settings > Skin
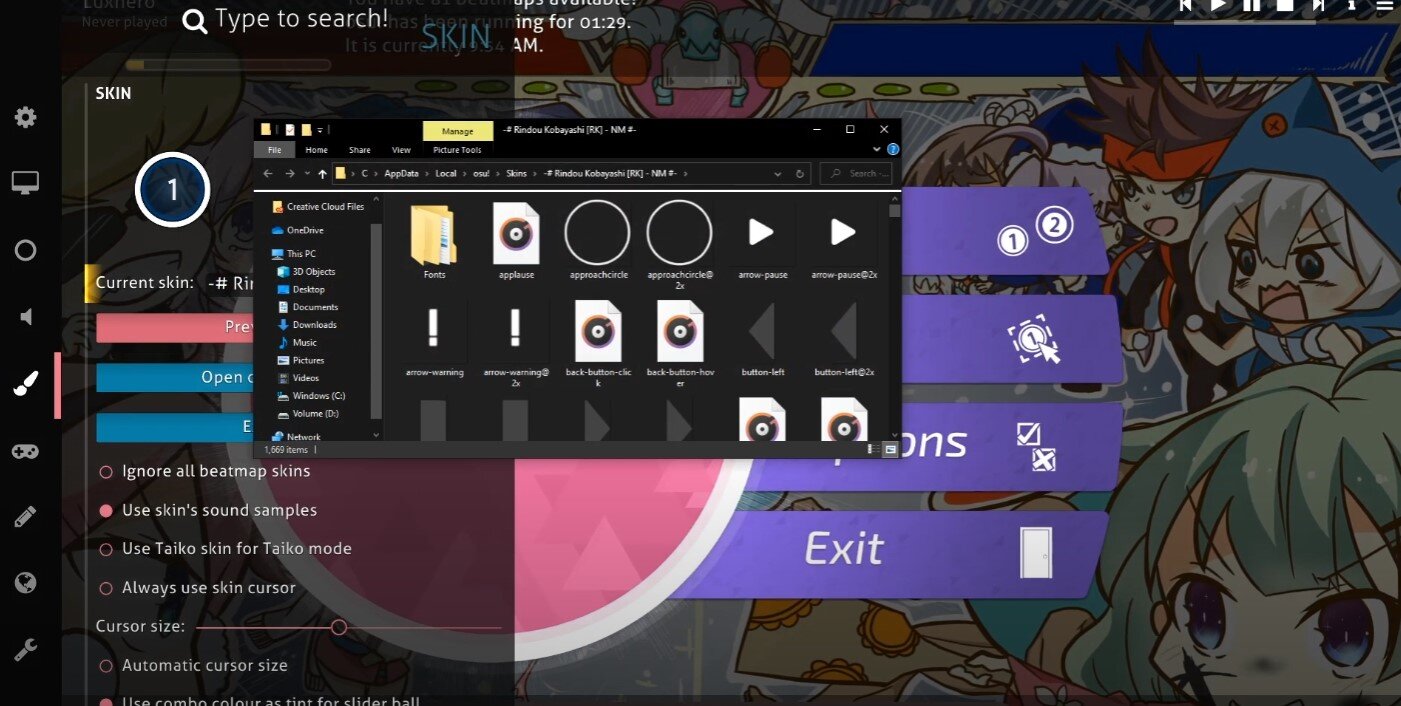
Select Open Current Skin Folder. Your file explorer will open up. Drag and drop the files you wish to change to your desktop. You can also use the file explorer search to find the assets you wish to replace.
Open the Current Skin Folder to access your osu! game files
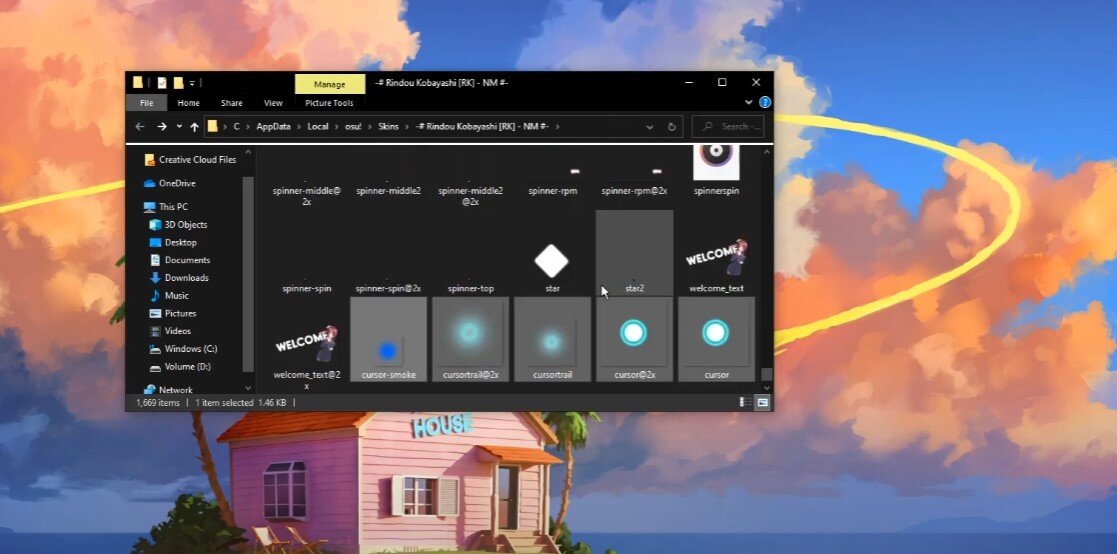
You can open up a different skin folder and copy the assets you want to change, in this example the cursor. You can also import any other .png image to use as your cursor. Simply drag and drop the file into this folder, and make sure to delete the duplicates.
Replace the cursor files in the Skins folder


