Lost Ark - How To Show VRAM, RAM, GPU & CPU Utilisation
Are you a gamer looking to maximize your gaming experience and optimize your computer's performance? If so, understanding your computer's VRAM, RAM, GPU, and CPU utilization is essential. Knowing how to monitor and display this data can help you troubleshoot performance issues and tweak your settings for the best possible gaming experience. This article will explore how to show VRAM, RAM, GPU, and CPU utilization in Lost Ark, a popular online multiplayer game.
Enable Windows Game Mode for Lost Ark
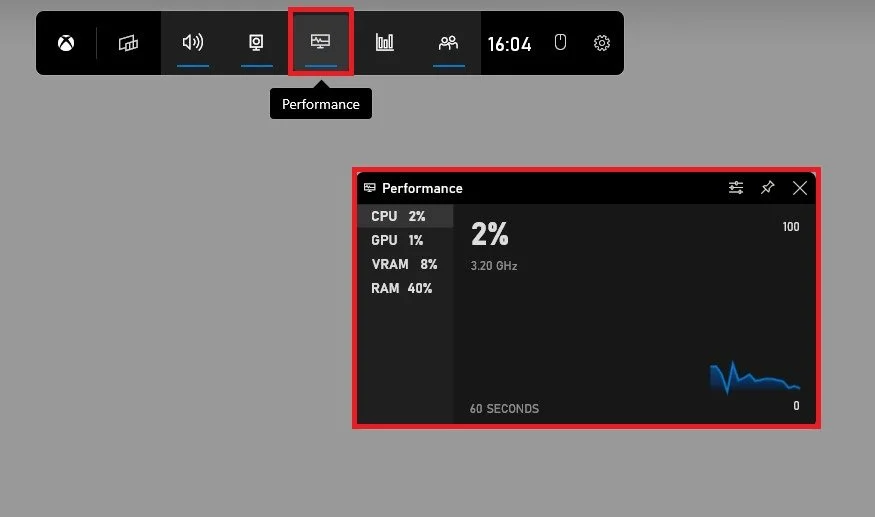
While playing Lost Ark, use the Windows key + G shortcut. This will toggle the Windows Game Mode overlay.
Windows Game Mode Overlay
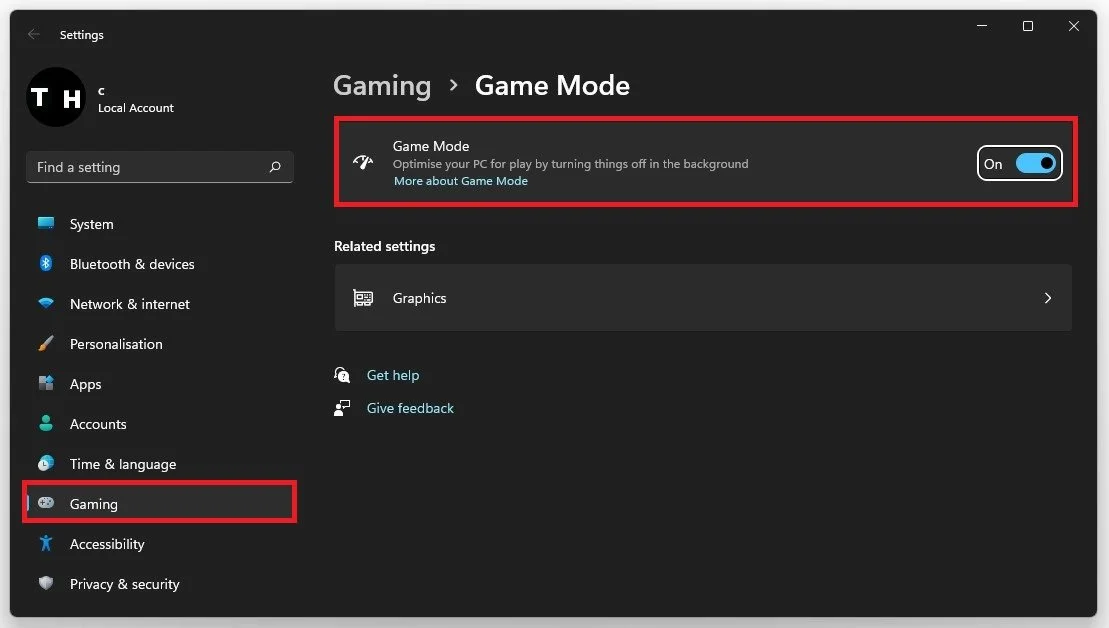
If this is not the case, then make sure to enable Game Mode in your Windows settings. Under Gaming, navigate to Game Mode and enable this option.
Windows Settings > Gaming > Game Mode
Use the Performance Widget
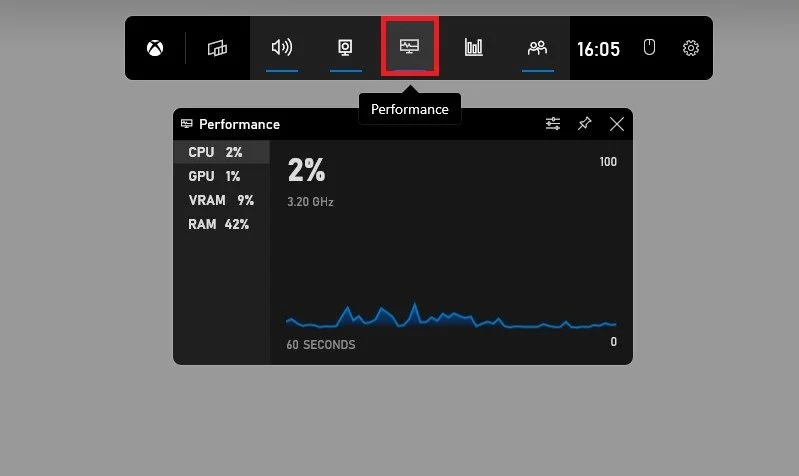
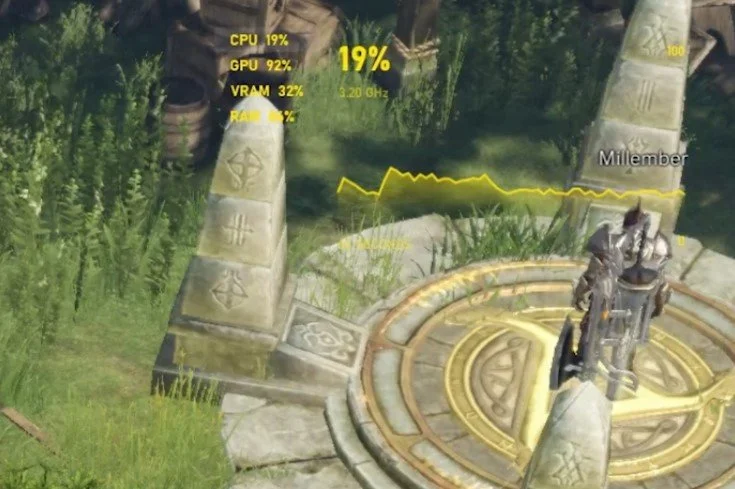
Back in Lost Ark, use the shortcut, and then you can preview some of these panels that are here by default. In your top menu, make sure to enable the Performance window. This window will have a transparent background when pinned, and you can preview your utilization while playing Lost Ark.
Xbox Game Bar > Performance Widget
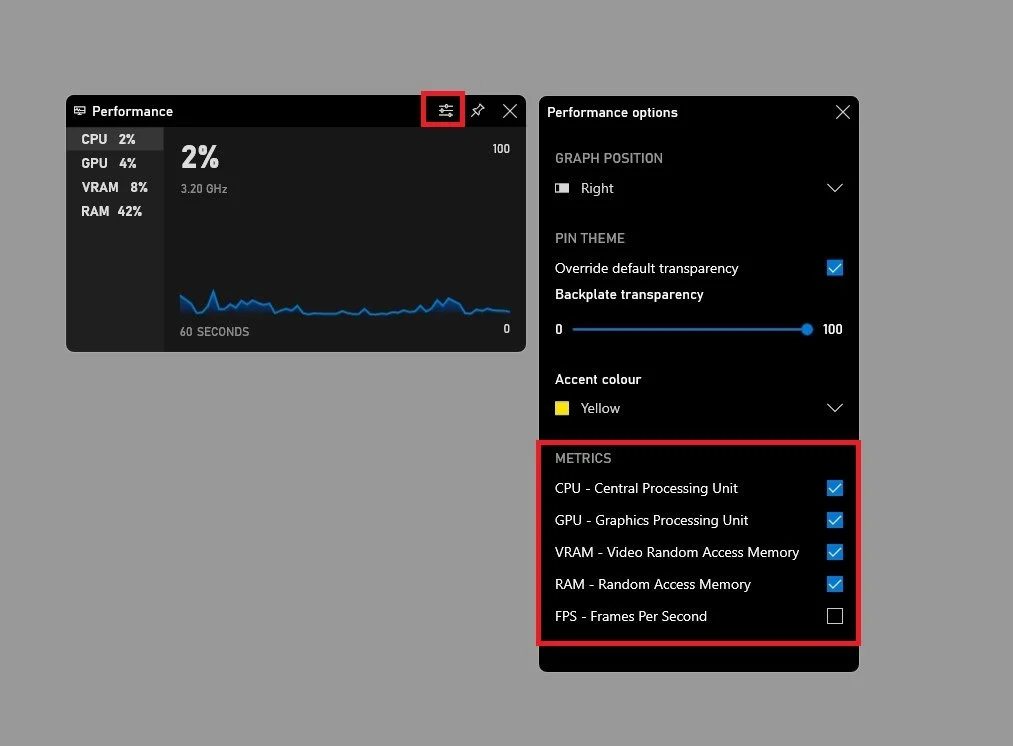
Before pinning the window and selecting the best location, open up your performance Preferences. Choose the best graph position; we like to use a transparency of 100%, and below, enable or disable some of the metrics you wish to see. You can also change the overlay color. Make sure to use a bright color to see it while in-game.
Performance Widget Settings > Metrics
You can then pin the window to your preferred location and then head back to the game in order to see it properly.
How To Show the Ping to Lost Ark Servers
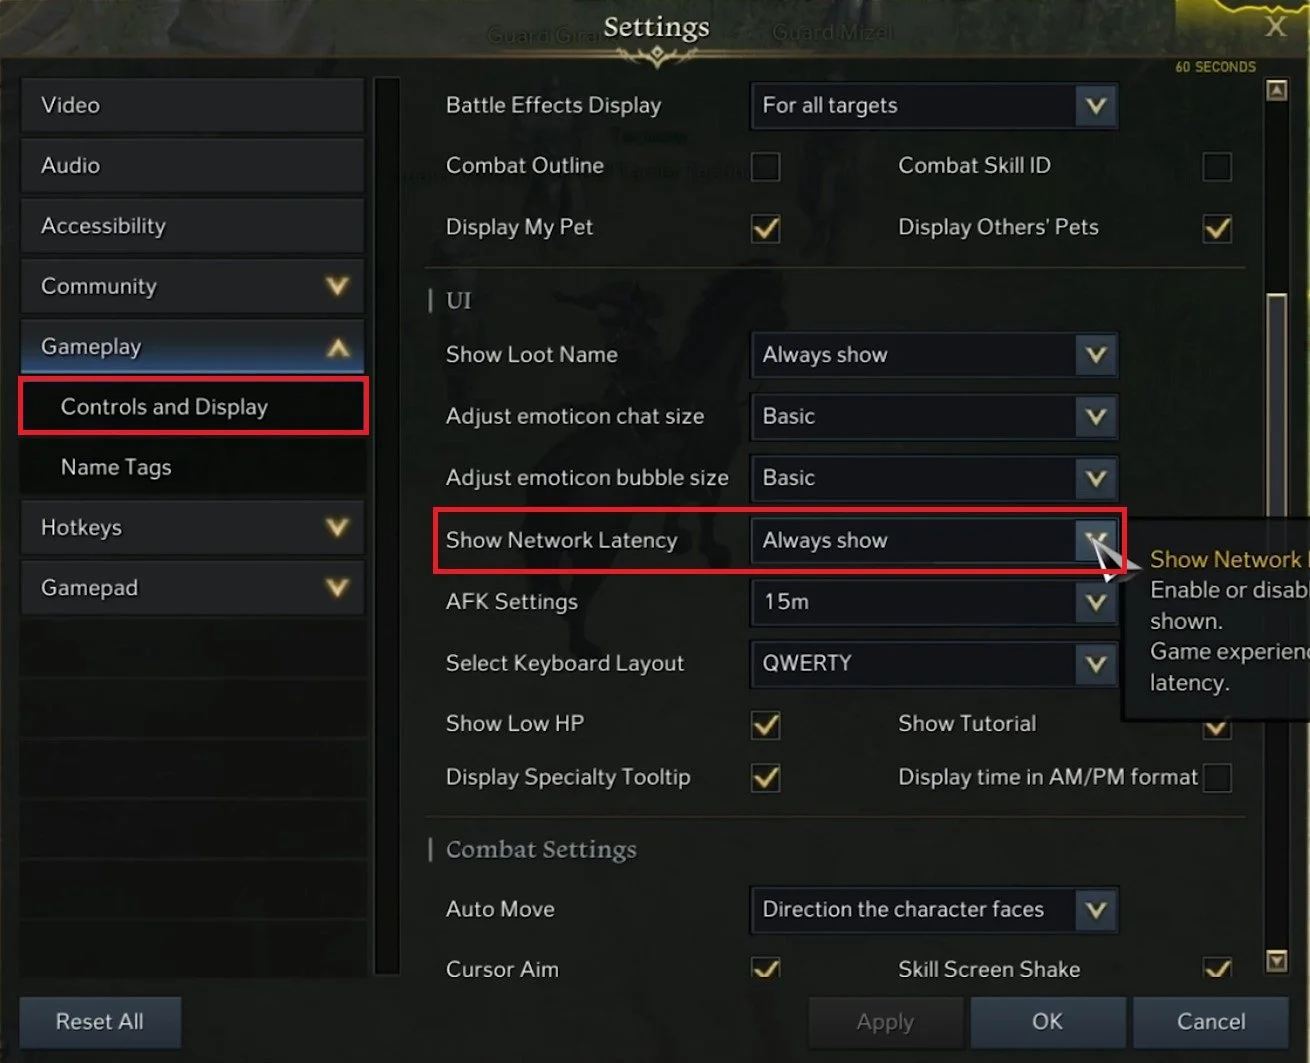
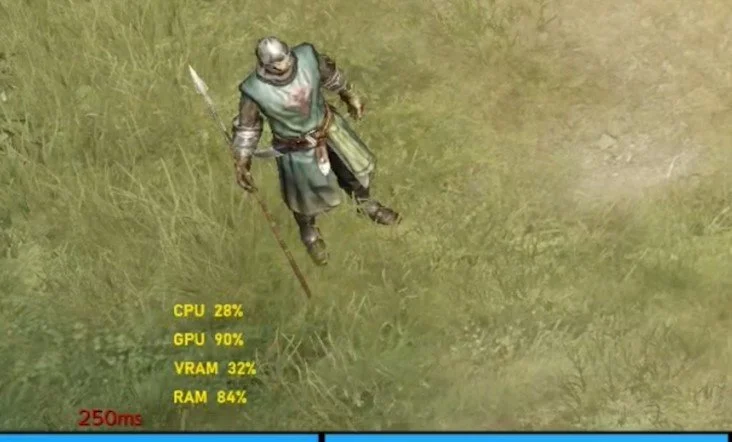
If you want to see the latency or ping to your current server, then navigate to your in-game settings. In the Gameplay tab, under Controls and Display, make sure to scroll down to the UI section and change the Show Network Latency setting. When setting this option to Always show, you can preview the ping or latency to the server you are playing on.
Lost Ark Settings > Gameplay > Controls and Display
By default, it will show up at the bottom left of your screen.


