How To Change Name on Facebook - Easy Guide
Introduction
Updating your name on Facebook is a straightforward process, whether you're using a desktop or mobile device. In our easy guide, we'll walk you through each step to ensure your Facebook profile reflects your preferred name accurately. Remember, once you change your name, Facebook has a 60-day waiting period before you can alter it again, so double-check for any typos. Follow along as we make this update a smooth and hassle-free experience!
How to Change Your Name on Facebook
Changing your Facebook name is a simple process, applicable for both desktop and mobile app users. Here’s a step-by-step guide:
Accessing Settings on Mobile App:
Open Facebook App:
Launch the Facebook application on your device.
Navigate to Your Profile:
Tap the profile icon located at the lower right corner of your screen.
Go to Settings:
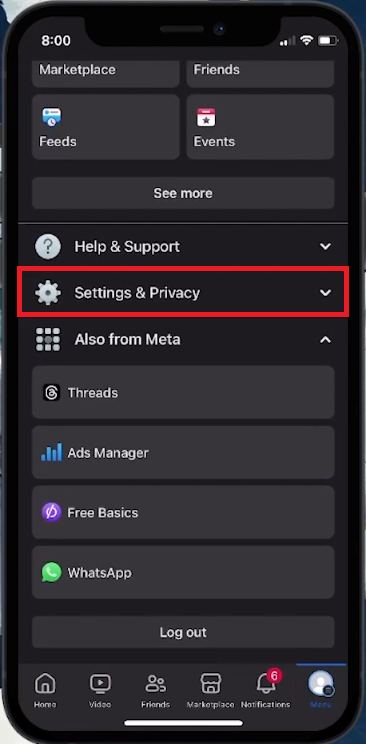
Scroll to the bottom and find “Settings & Privacy”. Tap to expand it.
Select “Settings”.
Facebook Settings & Privacy
Changing Your Name:
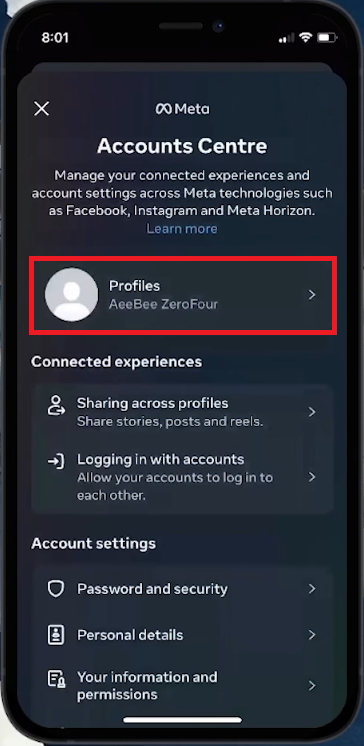
Access Accounts Centre:
In Settings, tap on the "Accounts Centre" at the top.
Select Your Profile:
Inside Accounts Centre, choose “Profiles” and then select your Facebook profile.
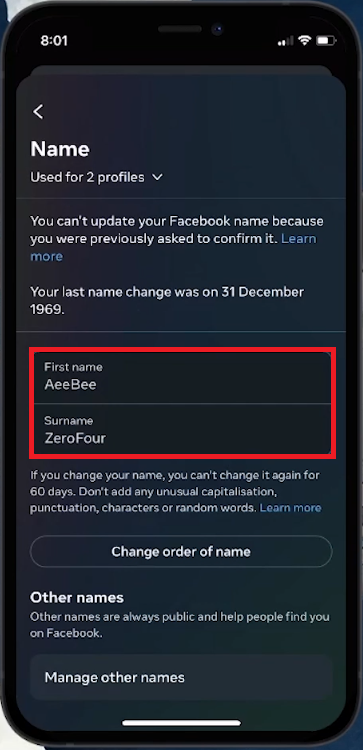
Update Your Name:
Tap on 'Name'.
Enter your new first name and surname in the respective fields.
Tap “Review Change” to proceed.
Select the Facebook profile
Important Note:
Remember, after changing your name on Facebook, you cannot alter it again for the next 60 days. Ensure there are no spelling errors before confirming the change.
Following these steps, you can easily update your name on Facebook to reflect your preferred identity.
Name change requirements
-
Open the Facebook app, go to your profile, select 'Settings & Privacy', then 'Settings', and 'Accounts Centre'. Choose 'Profiles', click on 'Name', enter your new name, and tap 'Review Change’.
-
Yes, the steps are similar. Access your Facebook settings through the desktop site, navigate to your profile settings, and follow the same process to change your name.
-
Facebook allows you to change your name once every 60 days, so make sure you're satisfied with your new name before confirming the change.
-
No, Facebook does not notify your friends when you change your name. However, your new name will be displayed on your profile and in your posts.
-
Facebook requires users to use their real names as they would be listed on an ID or official document. Nicknames can be included if they are a variation of your real name.